
DIY Gingerbread Man Candles
These DIY Gingerbread Man Candles are not only easy to make, but they are also great gifts.
Hey friends! I know you usually don’t hear from me on a Saturday, but it’s 6 weeks until Christmas so all rules are out the window…right?
I have been ruminating on this craft for several months, ever since I made the little DIY glass milk bottles, so I was excited to put my idea in motion for this Creative Christmas Challenge. And what great little gifts they make…I’ve already sent one of my DIY Gingerbread Man Candles home with a friend!
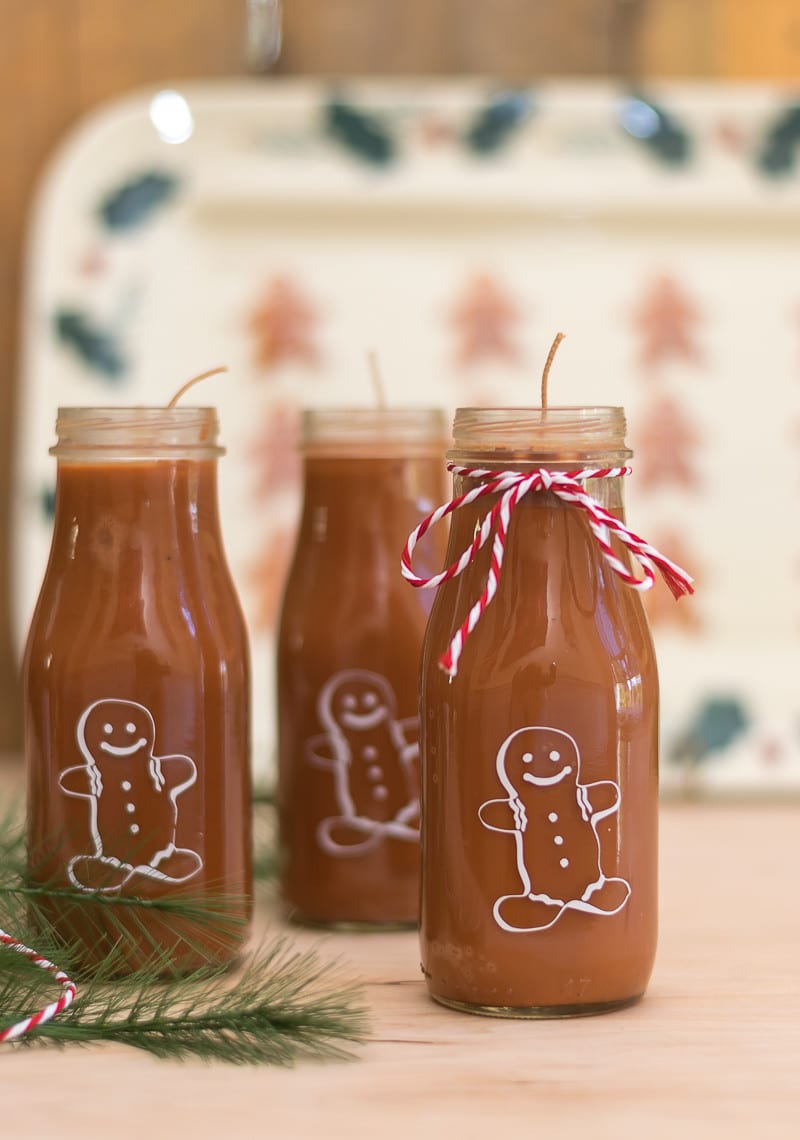
Table of Contents
What I used to make these DIY Gingerbread Man Candles:
Some of these are affiliate links and I will earn a small commission off of the sale of these products, but the price you are charged is not affected. You can see my full disclosure policy here.
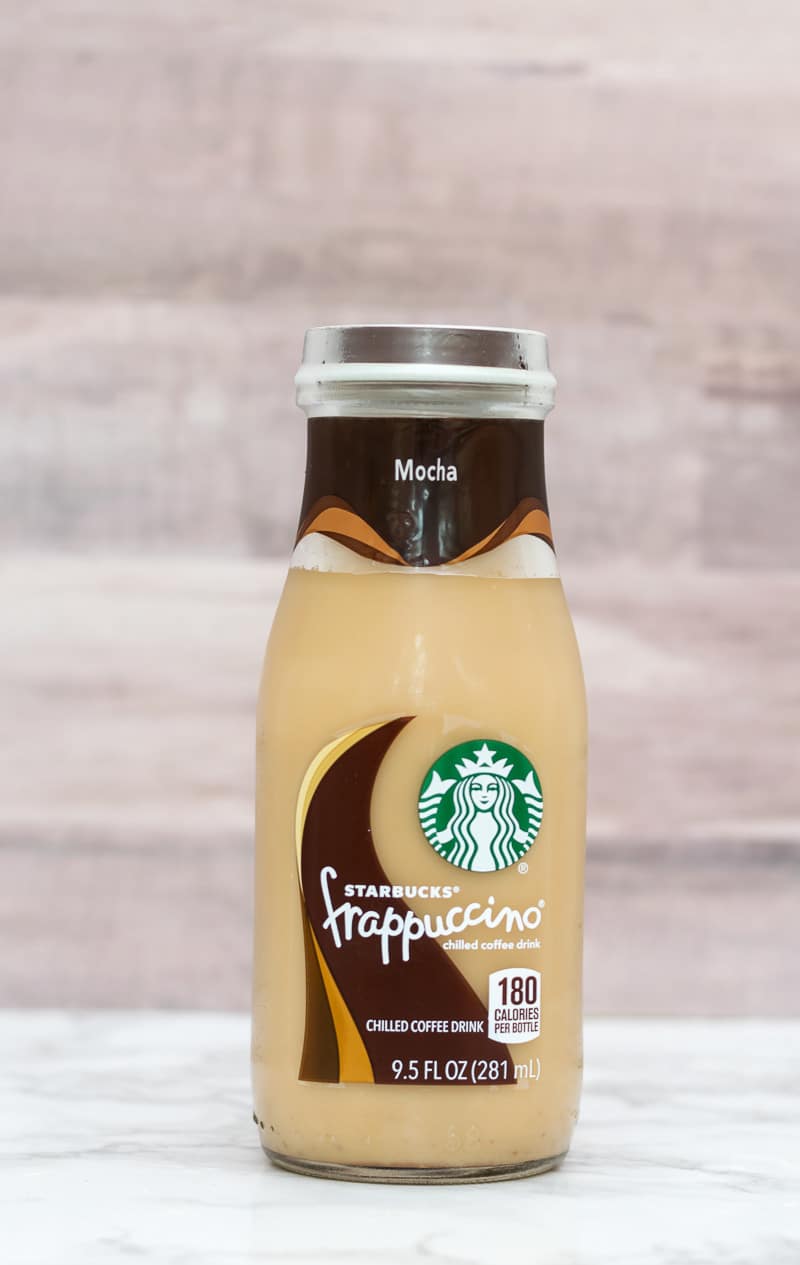
- As many empty Starbucks Frappuccino bottles as candles you want to make

- Goo Gone (or something similar) and rubbing alcohol
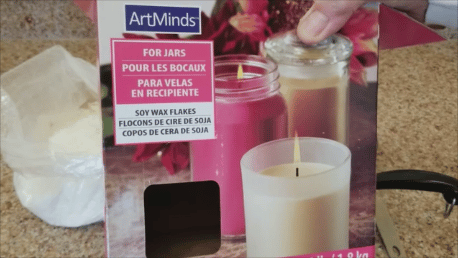
- Candle Wax. (I used ArtMinds Soy Flakes that I purchased at my local Michael’s, but I don’t see that they sell it online.) The 4 lb bag I used made 8 candles.

- Brown Candle Dye
- Possibly some yellow or red candle dye if your brown is either too pink or too yellow
- Gingerbread Fragrance
- Wicks with Tabs
- Candle Adhesive
- Pot for melting wax, I found an old pot for $2 at my local thrift store
- Bamboo skewers
- Thermometer. I used my kitchen thermometer, but there are candle thermometers.
- Cooling Rack
- I used my Cricut Explore Air 2 to cut the Gingerbread Man stencil.
- And Outdoor White Vinyl for the stencil
- I used the so charming Gingerbread Man image from the Christmas Design Elements bundle that I purchased a year ago from The HungryJPEG. This bundle sadly is no longer available, but you can find a Gingerbread Man that you like by doing a simple Google Images search.
If you can’t find what you need, Michaels will have supplies for most every crafting need under the sun. You can order online here and have it shipped or you can pick it up at your convenience.
How I Made my DIY Gingerbread Man Candles:
Huge Disclaimer here…These were the firsts candles I ever made…I’m pretty sure I probably broke several candle making rules in the process, but it worked for me. For what it’s worth, I did read about the process and watched some videos, so I didn’t just jump in blind…like I have been known to do from time to time. ?
- Clean your bottles of their labels and then run them through the dishwasher. The rubbing alcohol will get the little expiration date stamp off as well. Make sure they are completely dry on the inside. I actually put mine upside down in a colander over my air register to blow some air in them to make sure they were dry.
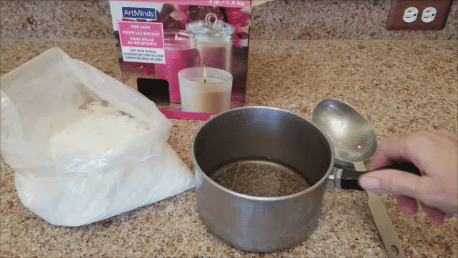
- Measure out your wax and place it in your pot. For the soy flakes I used, it took 2 heaping cups of flakes for each 10-ounce candle…filled almost to the top of the bottle.
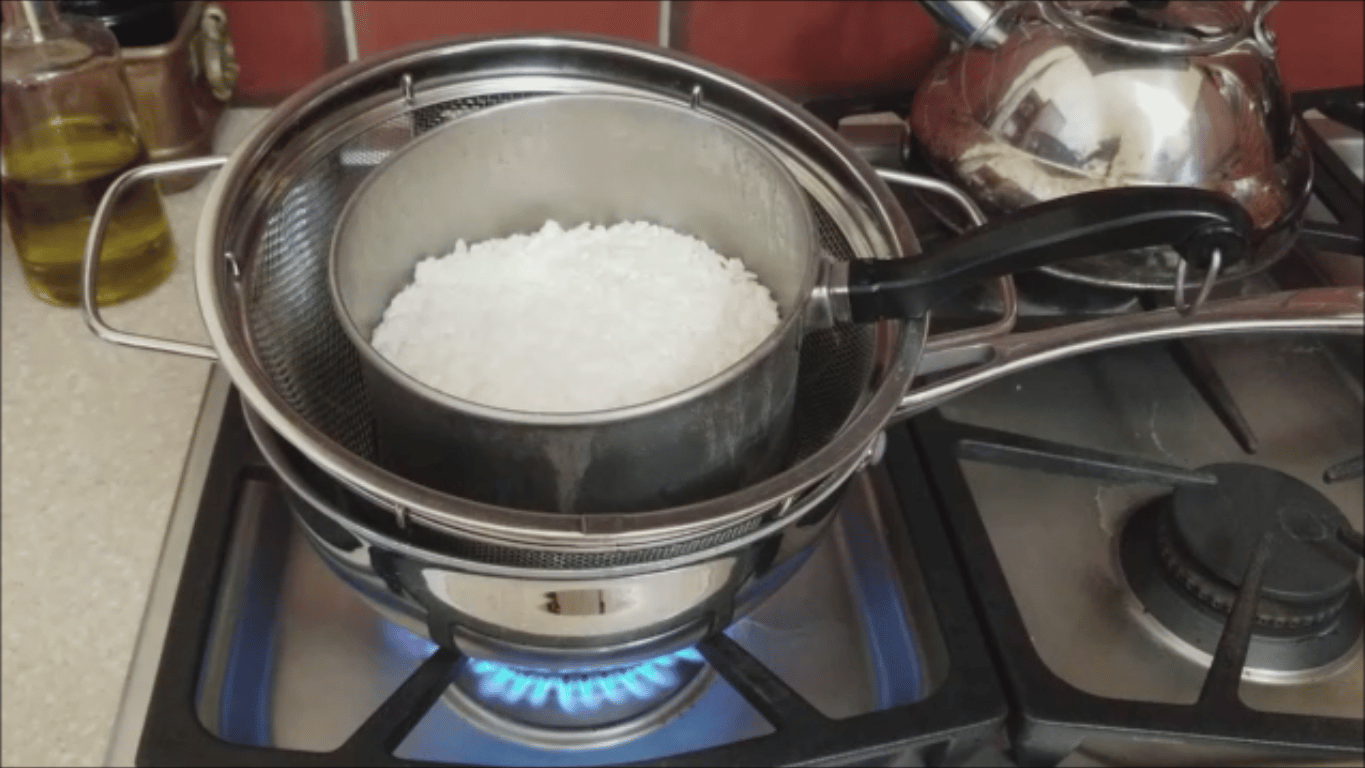
- Place a colander big enough for your wax pot in another pot of simmering water. Place your wax pot into the colander.

- While your wax is melting, place your bottle in a warm oven 175-180°.
- I know with the fragrance I used, it needed to be added to the wax when the wax reached a temperature of 185°. Check with your scent manufacturer to find the flash point of your fragrance and that’s the temp that your wax should be. The dye should also be added when your wax temperature is 185°.
- I added 2 teaspoons of fragrance for each candle.
- I added 3 drops of brown and 1/3 of an inch of the yellow dye rectangle for each candle.
- Stir for a full 2 minutes to fully incorporate the fragrance and the dye. I used bamboo skewers to stir.
- Drop a little bit of the colored wax onto a sheet of white paper to get a good idea of the color your dried wax will be and adjust accordingly. I found that the brown right out of the bottle was too pink for what I wanted, so I added a little bit of the yellow dye to balance that.
- Once your colors and fragrances are fully incorporated, turn the heat off and wait until your wax drops to the pour temperature. Once again, different waxes have different pour temperatures, mine was 150°
- When your wax is close to 150°, remove your bottles from the oven and adhere the wicks to the bottom of the bottles with wax adhesive. I found a shishkabob skewer helpful to push the tab firmly to the bottom of the bottle.
- Pour the wax into your bottles, reserving a small amount (like 1-2 tablespoons per candle) for what is called a ‘second pour’. The second pour is needed as a small divot will most likely form right around your wick. The thin second pour will fill that divot and level off your candle.
- Set the pot with your reserved wax aside…you’ll heat it up again several hours later.
- Using bamboo skewers, pencils, or something similar, align your wick so that it in the center of your bottle. Prop it with the skewers and set it aside where it won’t be disturbed for several hours. If you fiddle with the wick once it starts drying, you will make a mess…ask me how I know.
- Once your candles are cooled, heat up that small amount of reserved wax and pour it over your candles to level them off.
- Once the candles were cooled, I uploaded the Gingerbread Man image from my font bundle. If you have never uploaded an image to Cricut, here’s a video I did earlier this year showing how easy it is. For this Gingerbread Man, I used the Complex Image setting in the edit menu. I resized my Gingerbread Man such that he was 2″ tall and 1.5″ wide.
- Then it was just a matter of weeding the image and applying it to the candle bottle. I did clean the bottle with rubbing alcohol before I applied the image…you will find that the soy flakes are a little greasy. I marked up one inch from the bottom of my bottles so that my men were all in the same place on the bottle.
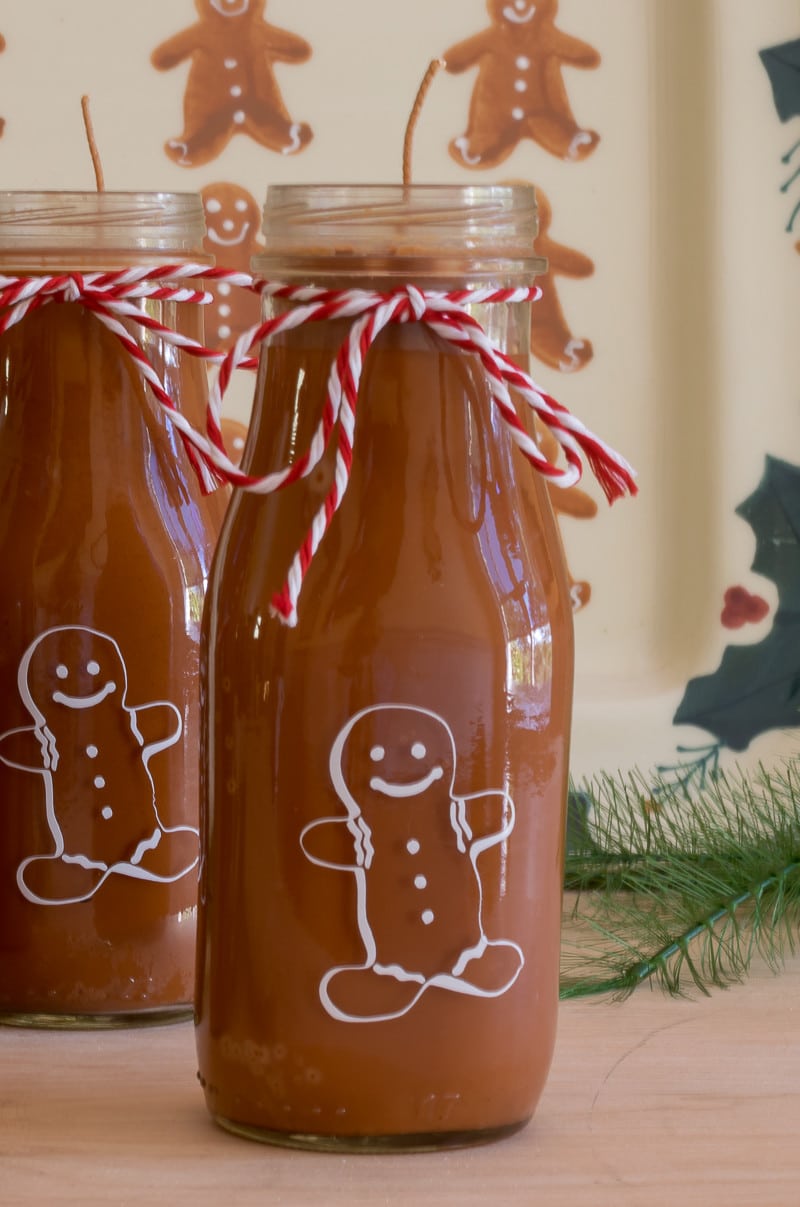
- I tied a little ribbon around the top and (dusting off her hands) “Done and Done”.

I know it seems like a whole bunch of steps, but it really is an easy process. You could easily whip out a bunch of these in a couple of hours…most of the time spent with the wax either melting or cooling…not a whole bunch of hands-on time.
OH! Yikes, I almost forgot. I did a video showing how to make the DIY Gingerbread Man Candles from start to finish….well…I did fast forward through melting wax, cooling wax and weeding a white image off of a white background. If you have sleep problems, let me know and I’ll send you those outtakes!


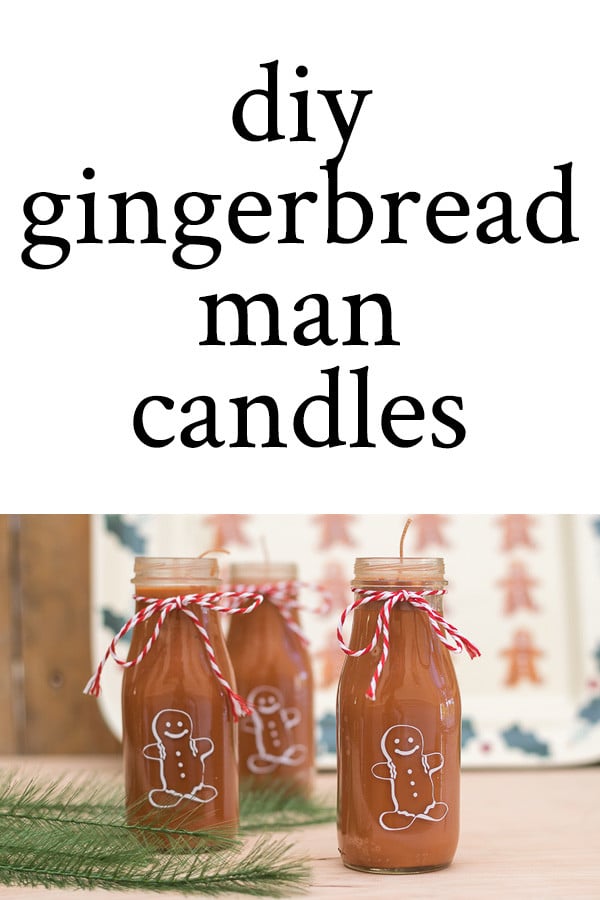
If you think you might want to give these DIY Gingerbread Man Candles a try, then bookmark this page or pin this image for your future reference.
Thanks again for spending a few minutes of your busy day with me today. Know that you are appreciated and that I welcome each and every comment that comes my way. If you want to make sure you don’t miss future content, pop your email in the beige box up on the right or click here. I usually send out 2-3 emails a week, so I won’t inundate your inbox…believe me, I’m sensitive to an overflowing email inbox!
Printables and knit patterns are available to all of my subscribers in the Subscriber Benefits Library. I will continue to add patterns and printables to this page as we go along.
So, if you’d like to get in on the ‘subscriber benefit’ action, simply subscribe to Nourish and Nestle here or using the form on the right sidebar. It’s towards the top a bit. I have sent all my subscribers the link to the Subscriber Benefits Library, but if you missed it or misplaced it, drop me a line.
Until next time…
Hugs,


Hi Lynn,
Your gingerbread candles are a cute gift idea! I’m visually oriented so loved watching the video tutorial which made the process more “doable.” And it was fun to “see” you at work. Great explanations and demos, Lynn! Hope all is well with all of you!
Rosey
Hi Lynn, these are such a cute idea as an easy but thoughtful gift. And recycling the old bottles is perfect reuse for them. Those sweet gingerbread men on the front are awesome!
Hi Lynn! These candles are adorable and who doesn’t love anything with gingerbread men? These would look so cute in the kitchen. I really appreciate you taking the time to make a video so that we can make these too. Great tutorial!
These candles are so cute!! The gingerbread candles are just perfect!! I have been wanting to try candle making for a long time! Thanks for the inspiration
is there any problem with the glass breaking because the candles burn too hot? if not, I love this idea.
Hi Christine, I haven’t had any problem with the glass breaking! I guess it is similar to other candles in glass vases. I am so glad you love these little guys! They are cute, aren’t they?!
How much smell do these candles give off? Got to love a whole lot of good gingerbread smells. 🙂
Hi Chelsea,
That’s really hard to quantify. Personally, I don’t like really heavy scents, but I think it’s perfectly scented. You may want to do a trial version. If you wanted it more scented, you could melt it back down and add more Gingerbread Scent.
Good Luck…it’s a fun little project.
Hugs, Lynn