Home » Craft Room » Easy To Make Hand-Embroidered Monogram Pillows
Easy To Make Hand-Embroidered Monogram Pillows
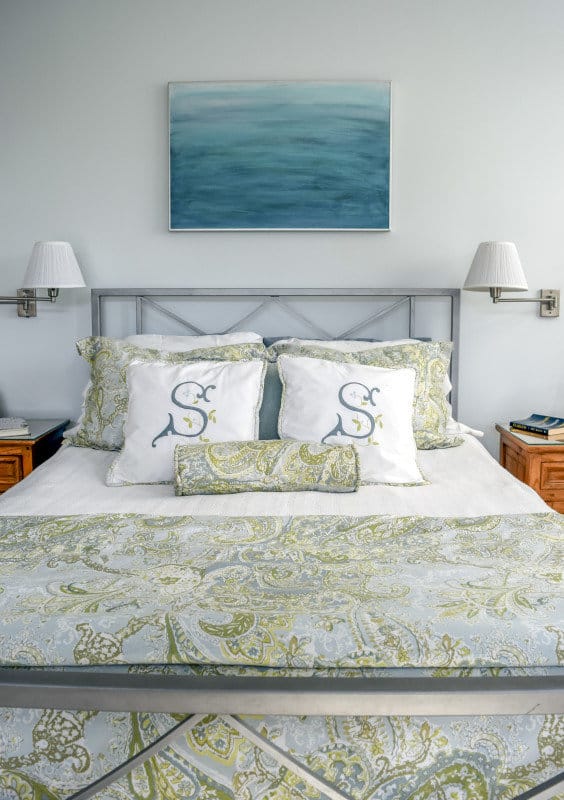
I recently updated the paint and bedding in our Master Bedroom. I chose the light and airy Sienna Paisley from Pottery Barn. The cool colors were definitely what I was looking for in creating a serene and quiet room. I’m kinda all over the board when it comes to colors, I have a hard time choosing just one favorite.
The same holds true when going to Baskin-Robbins, just ask my girlfriend Suzy or my husband Terry. Needless to say, I have many color schemes going on in my home, but our master has stayed consistently in the cool colors.
Table of Contents
While I love the bedding, I had a had time finding throw pillows to coordinate with it. I definitely hold to the theory that you can’t have too many pillows on your bed, so I had to get creative when it came to pillows for our master bed. When I bought the bedding set, I purchased an extra set of shams that I could take apart and use to make additional pillows.
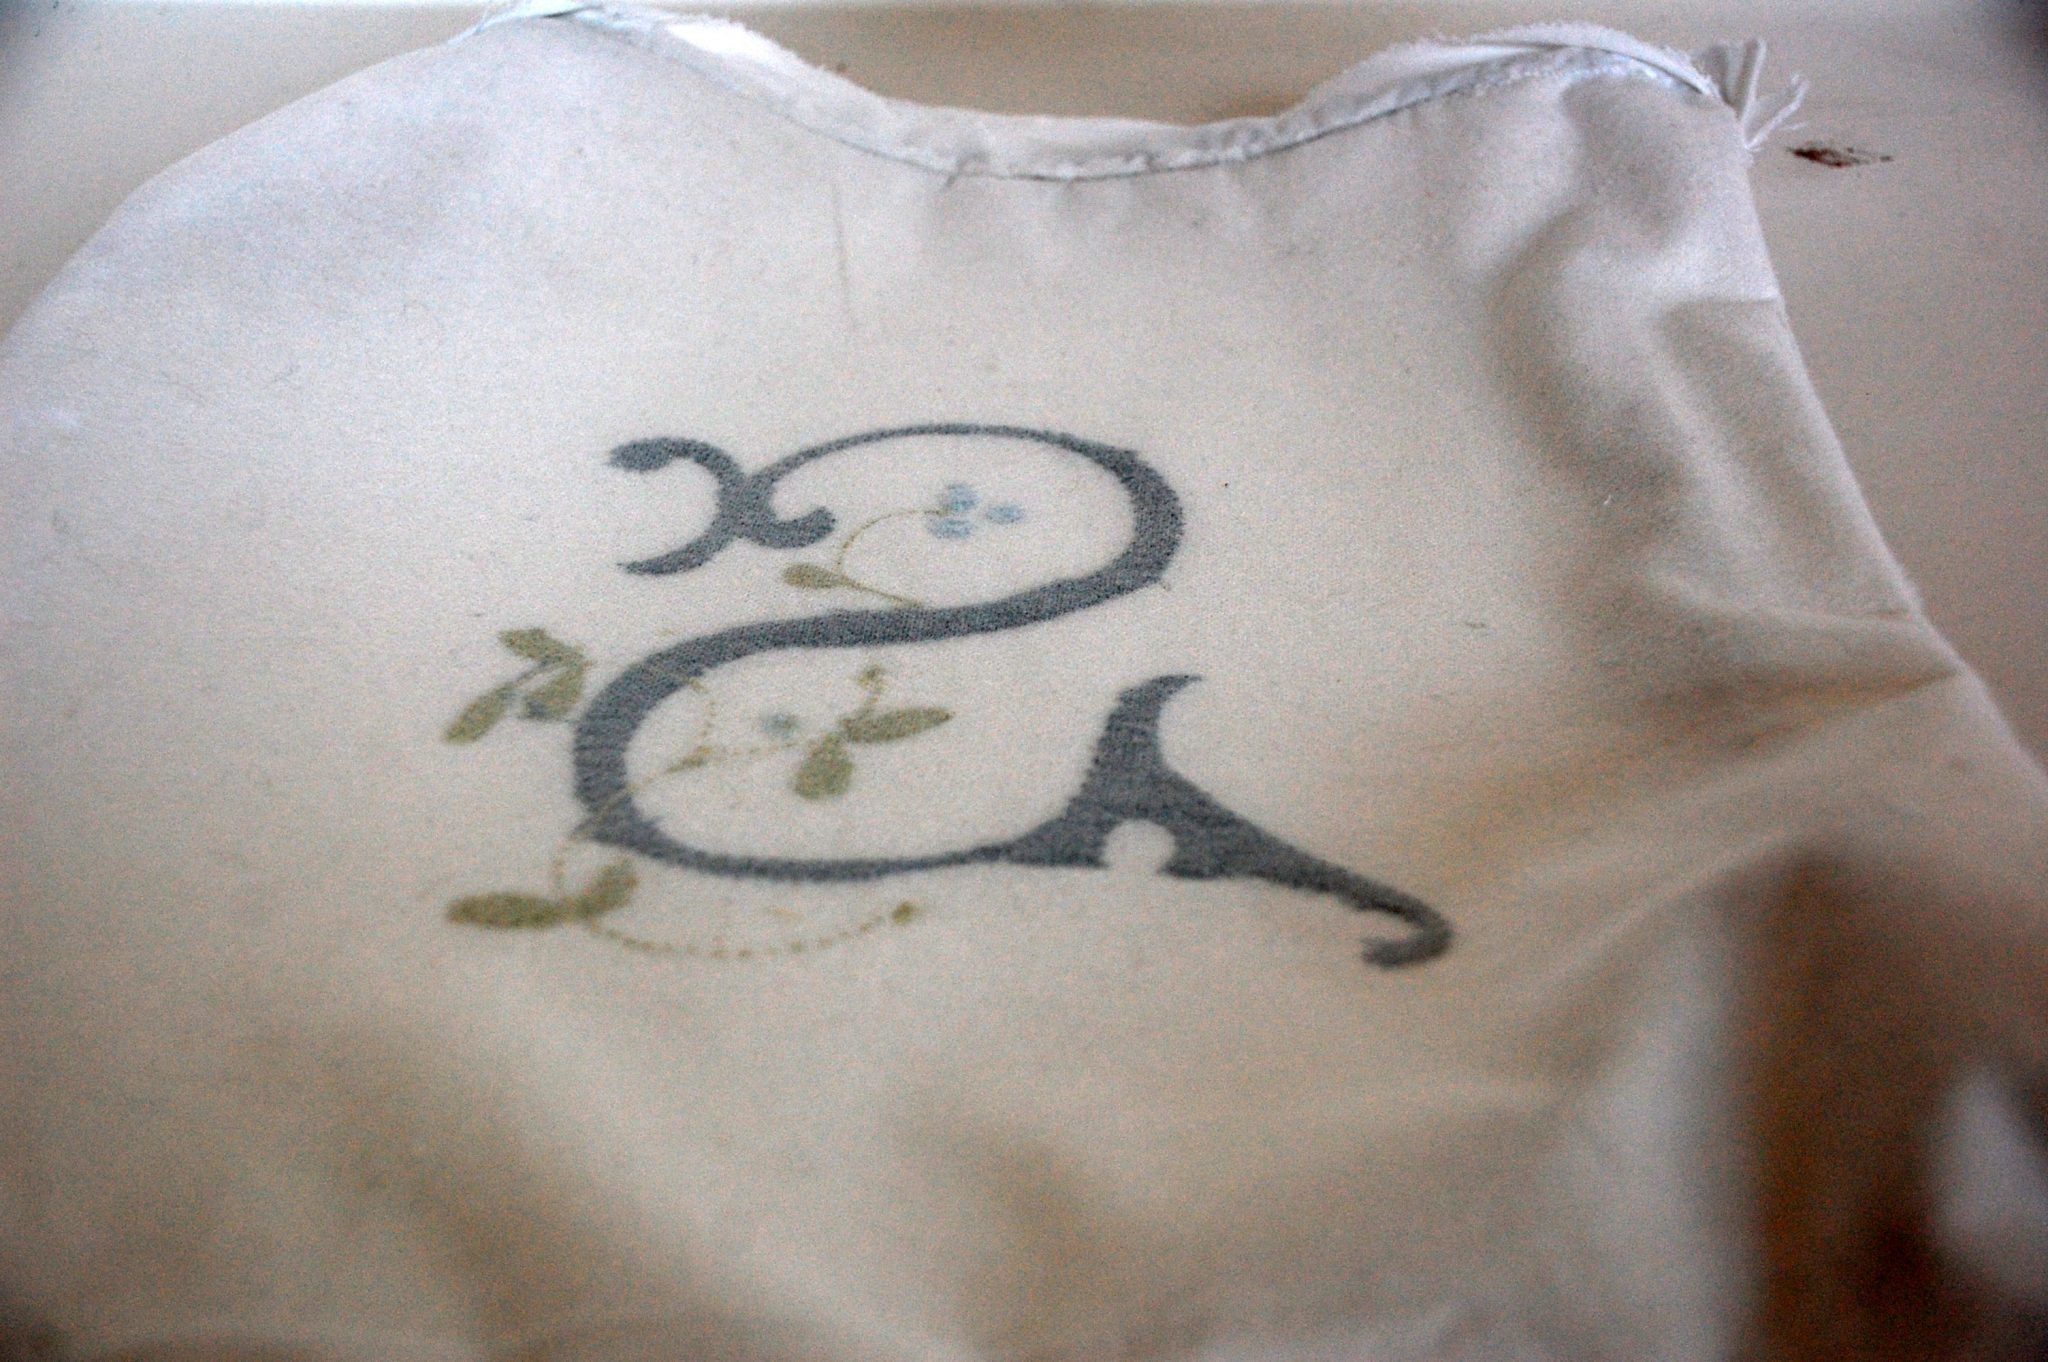
From the sham material, I made a neck roll pillow and used it as an edge for some monogram pillows I made. I could have very easily taken some fabric to our local monogram shop to get monogrammed (it really isn’t very expensive), but then I wouldn’t have had anything to do in the evening when I watch t.v. I figured that since I am the heir to my grandma’s and my mom’s creative DNA, I could surely do my own embroidered monogram pillows. Because the paisley is so filigreed, I chose a rather filigreed monogram as well.
Searched the internet for free, printable monogram letters. I found Mary Corbet’s Needle ‘n Thread site which had many free, downloadable hand embroidery initial fonts, but there are so many options out there to find exactly what you are looking for. I went with the first letter of our last name, ‘S’.
The letter printed off with a dimension of roughly 4″ x 4.5″. I needed it a good bit bigger, so used my printer to enlarge it 160X, making it roughly 7″ x 7.5″. My pillow forms were 16″ x 16″, so in retrospect, I wish I had made it bigger. I could’ve squeezed out an additional 1-2 inches using my printer and probably even bigger at my local print shop.
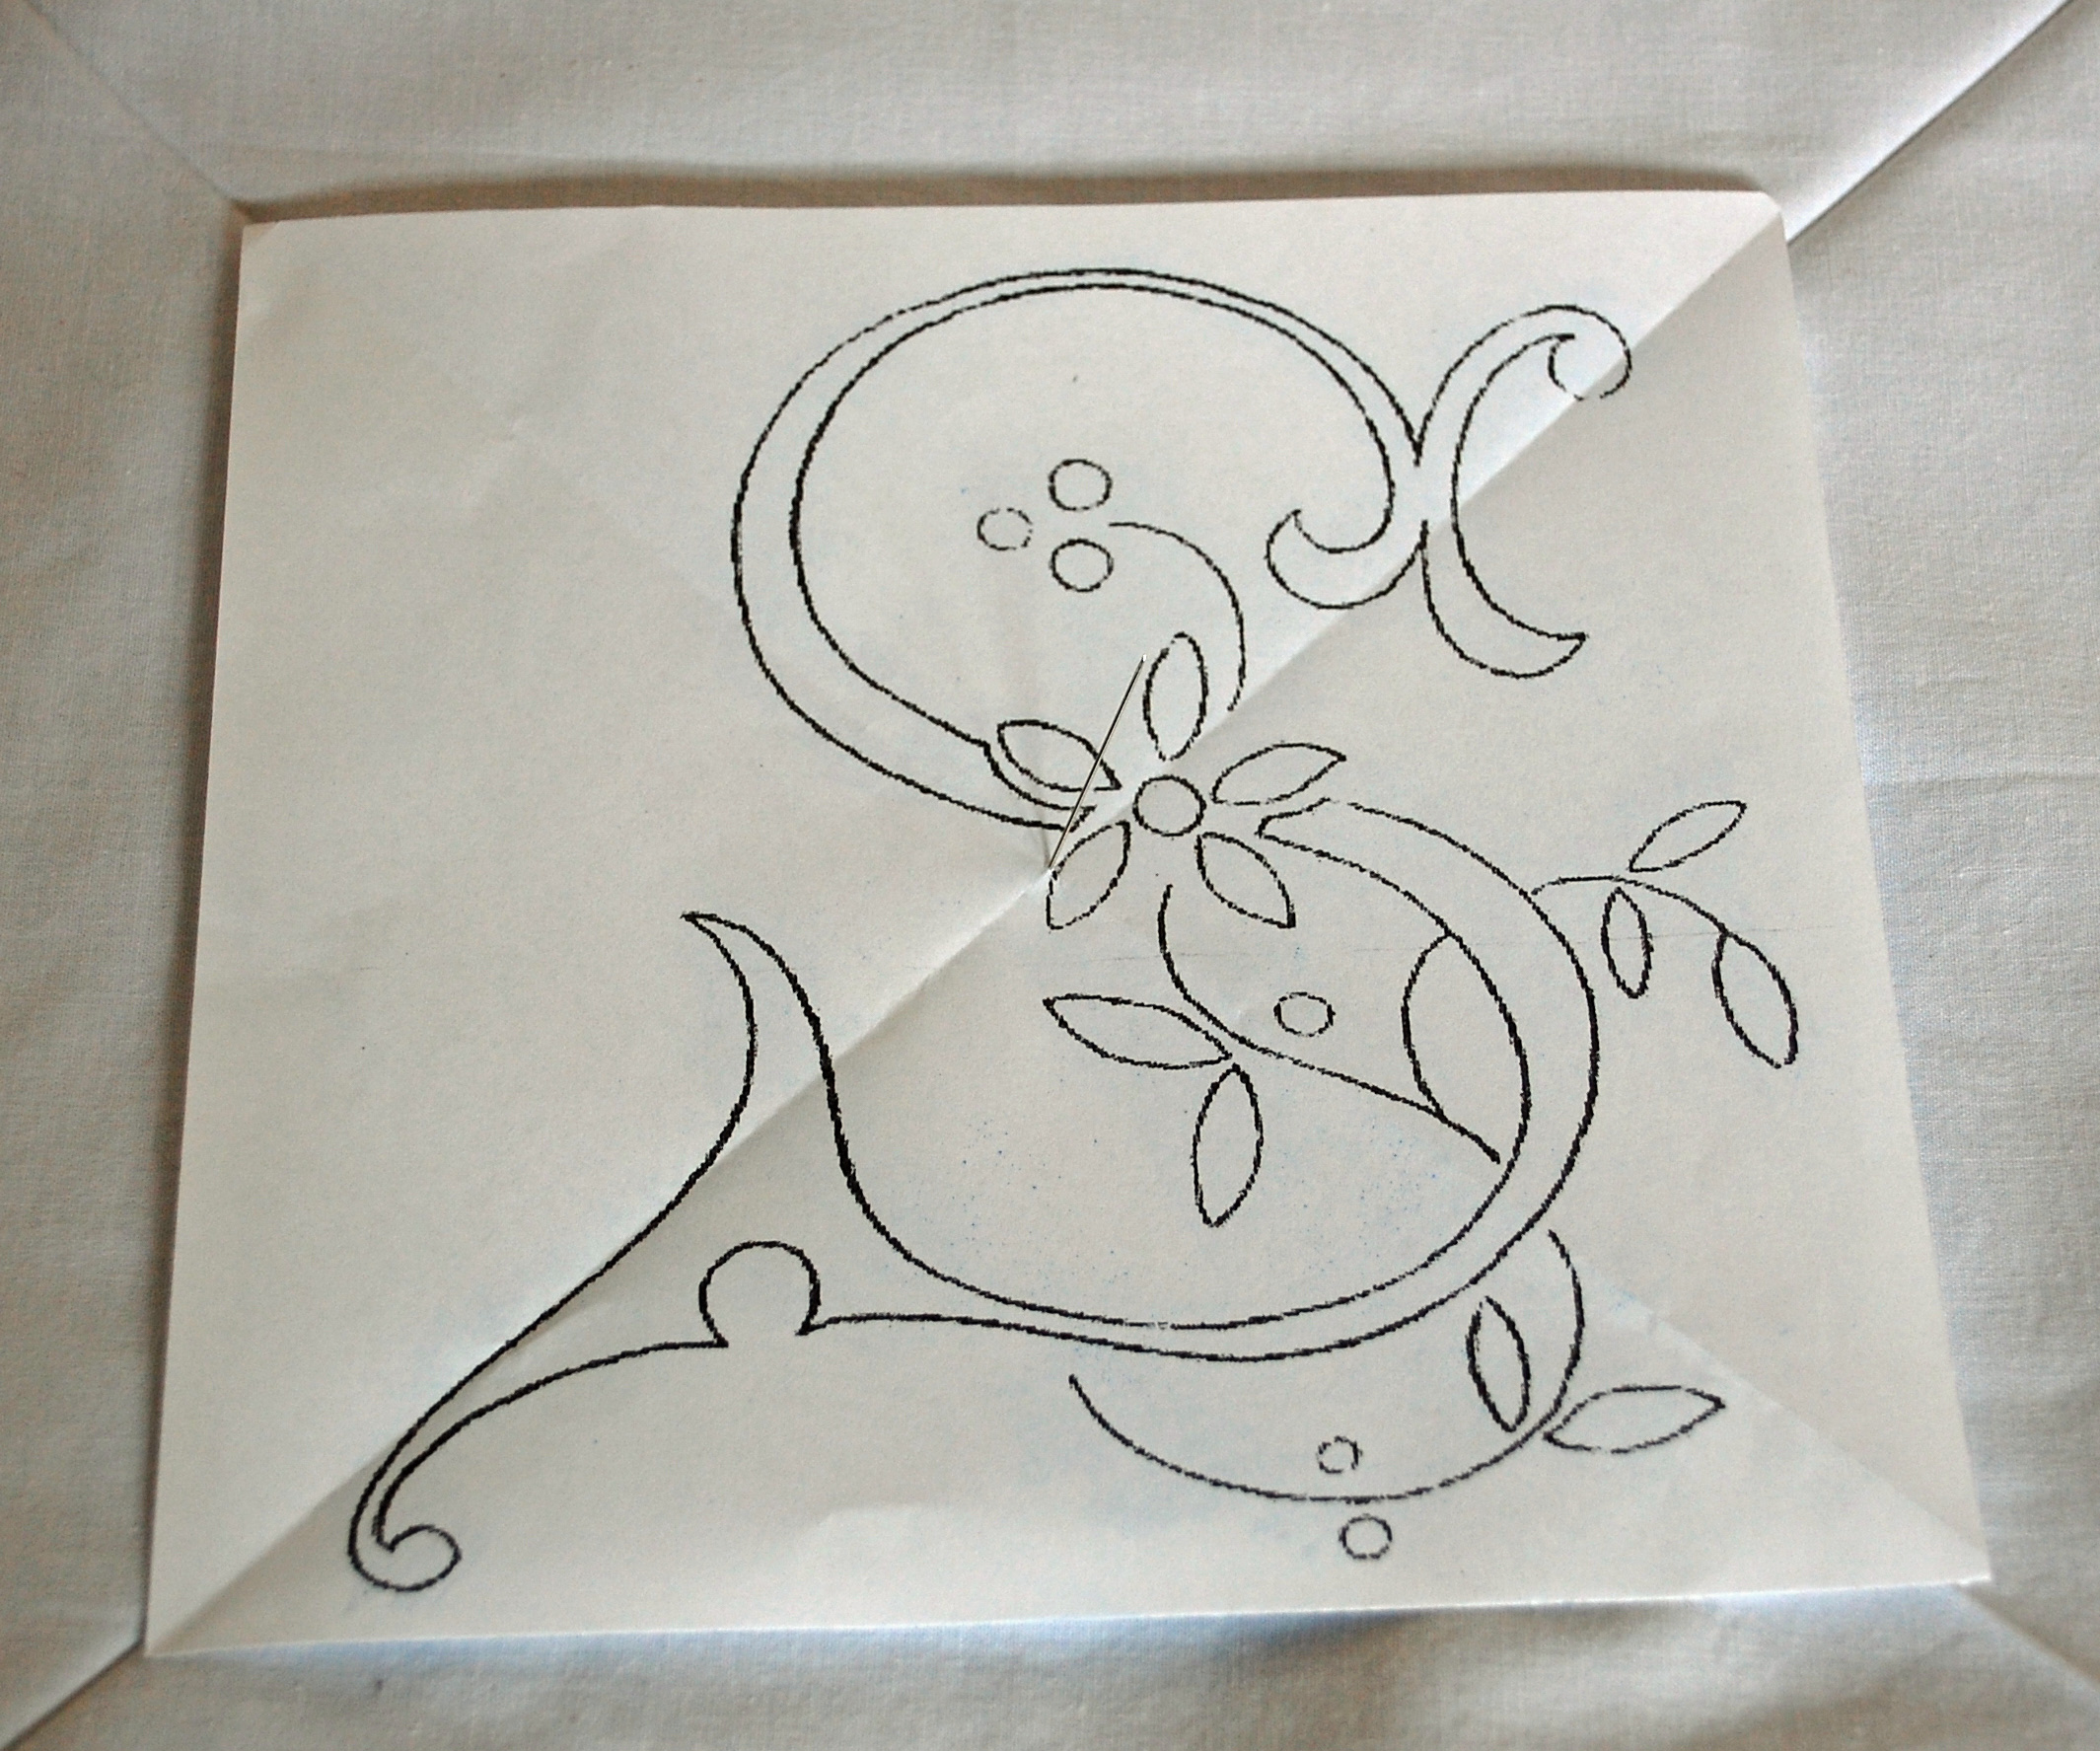
I didn’t have any transfer paper at home, and didn’t feel like running to the store for it, so I used my #2 pencil and rubbed the back of the letter quite heavily.
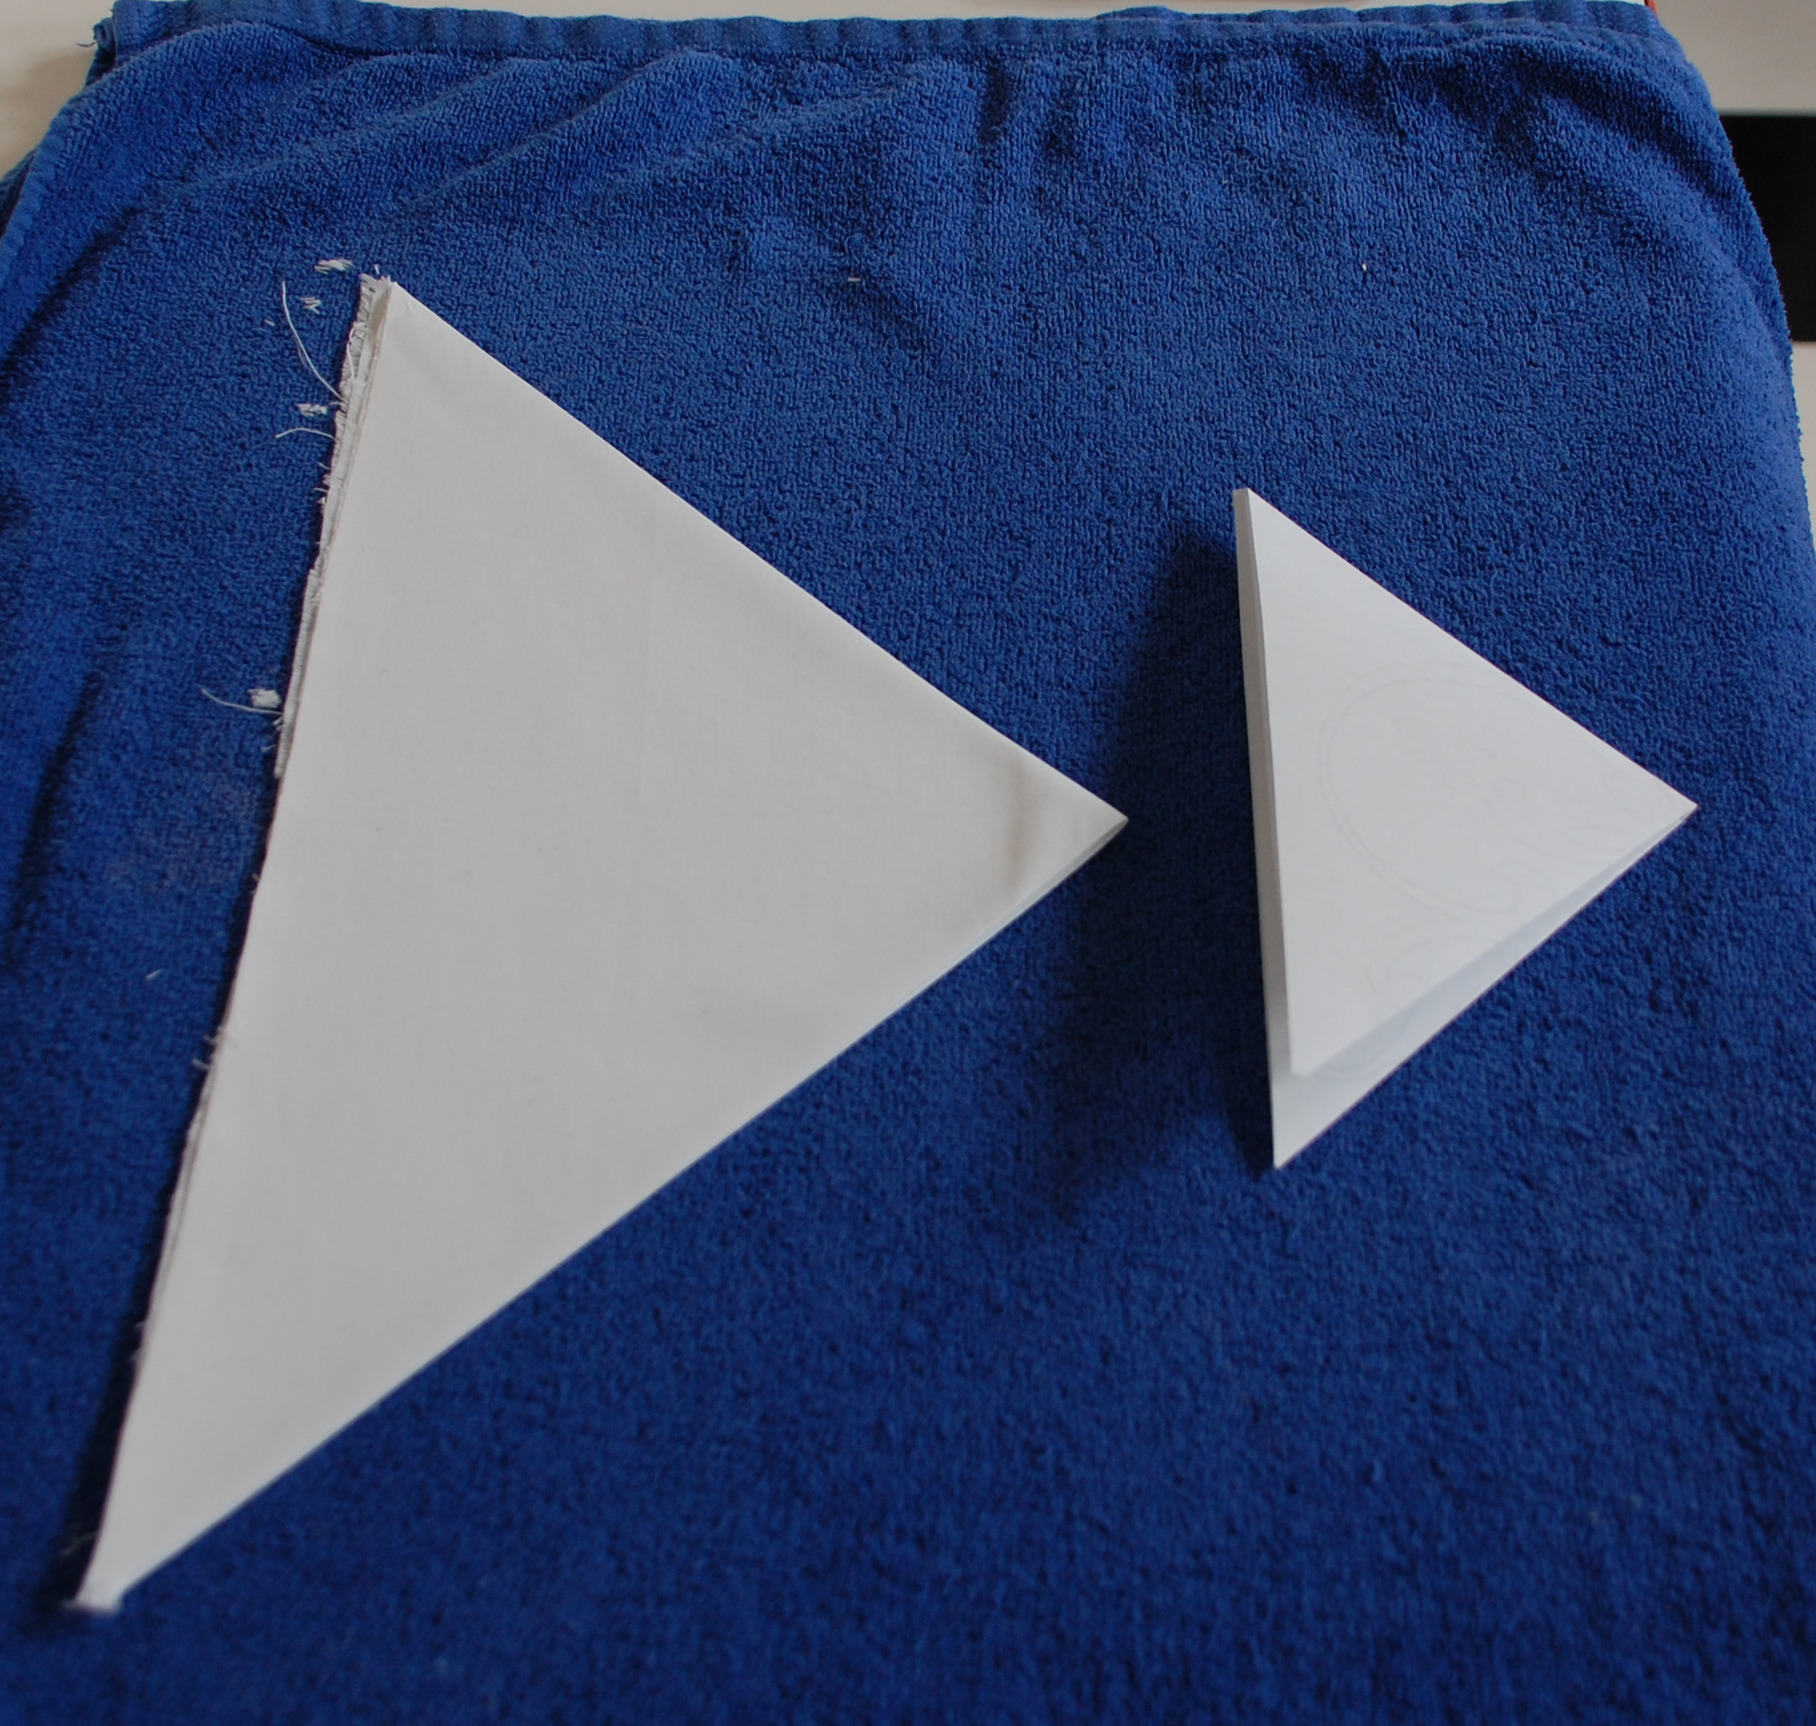
I then found the center of the letter pattern( by making the paper an even square and folding it diagonally both ways), and did the same with the fabric.
I pinned the center of the letter onto the center of the fabric, secured it all around and traced the letter onto the fabric. I did take out the flower in the middle of the initial, but kept the leaves and vine.
Once the letter was traced, I used my ruler and made guidelines every inch or so to keep my stitches at the same angle. When doing this, I played around until I could find the same angle everywhere that would ensure the shortest stitch length in the most places on the letter.
Then I got my embroidery floss, my hoop and needle and went to town. I used the satin stitch, explained very well at SublimeStitching.com. You don’t want your stitches too long as they’ll gap. In places where the stitches were longer than approximately an inch, I tacked it down very loosely to keep them from gapping.
Once I was done filling in the letter, I outlined the entire letter in a stem stitch, which really tidied up any uneven places in my satin stitch. Mary Corbet has a great video on the stem stitch.
I hand-washed the fabric and ironed on the fusible bonding on to the back of the material to keep the stitches in place and give it a little stiffness. I covered the entire piece of fabric and not just where the embroidery was.
I covered cording with fabric from the extra shams and sewed the rest of the embroidered monogram pillow together, then repeated for a second pillow.
This was a relatively quick project which tied everything together on the bed. I am tempted to try my hand at some blockier monograms, maybe filling them with different stitches. Kate and her roommate are figuring out their dorm decor, so maybe once they have that nailed down, I’ll do a pillow for her bed.
Thanks again for spending a few minutes of your busy day with me today. Know that you are appreciated and that I welcome each and every comment that comes my way. If you want to make sure you don’t miss future content, pop your email in the beige box up on the right or click here. I usually send out 2-3 emails a week, so I won’t inundate your inbox…believe me, I’m sensitive to an overflowing email inbox!
Printables and knit patterns are available to all of my subscribers in the Subscriber Benefits Library. I will continue to add patterns and printables to this page as we go along.
So, if you’d like to get in on the ‘subscriber benefit’ action, simply subscribe to Nourish and Nestle using the form on the right sidebar. It’s towards the top a bit. I have sent all my subscribers the link to the Subscriber Benefits Library, but if you missed it or misplaced it, drop me a line.


Thank you for a great explanation. I was looking online for a similar idea and really appreciate it
Logo Embroidery
Oh Aimee, you are so welcome! I’m so glad it was helpful!