Tools Necessary for Safely Canning and Preserving Foods
I discovered the satisfaction of canning soups, stocks, fruits, and vegetables several years ago in an attempt to take more control over what went into my family’s bodies. First, it was an attempt to reduce unnecessary preservatives and sugar, then it was to reduce our sodium intake and then I decided by canning I could also reduce or eliminate our exposure to BPA in the linings of conventionally canned soups and foods. Doing my own canning and preserving also fills this desire that permeates many of my decisions: take it back to a simpler time.
Some of these are affiliate links and I will earn a small commission off of the sale of these products, but the price you are charged is not affected. You can see my full disclosure policy here.
The idea and process of canning has been thought of as scary for many years, despite the fact that our ancestors as recently as a generation ago regularly kept their food this way. ‘Botulism’ and ‘Salmonella’ are the words that pop into many minds when considering home preserving of foods.
By following directions and heating your canned foods to the requisite temperatures, you effectively destroy these microorganisms.
The critical element is knowing what foods can be safely canned with the Boiling Water method, or if you need to use a Pressure Canner. Once again, if in doubt, refer to The Ball Complete Book of Home Preserving. In a nutshell, Low-Acid foods (vegetable, meat, poultry, and seafood) require greater heat to effectively destroy the bacteria spores which cause Botulism, Salmonella, etc…
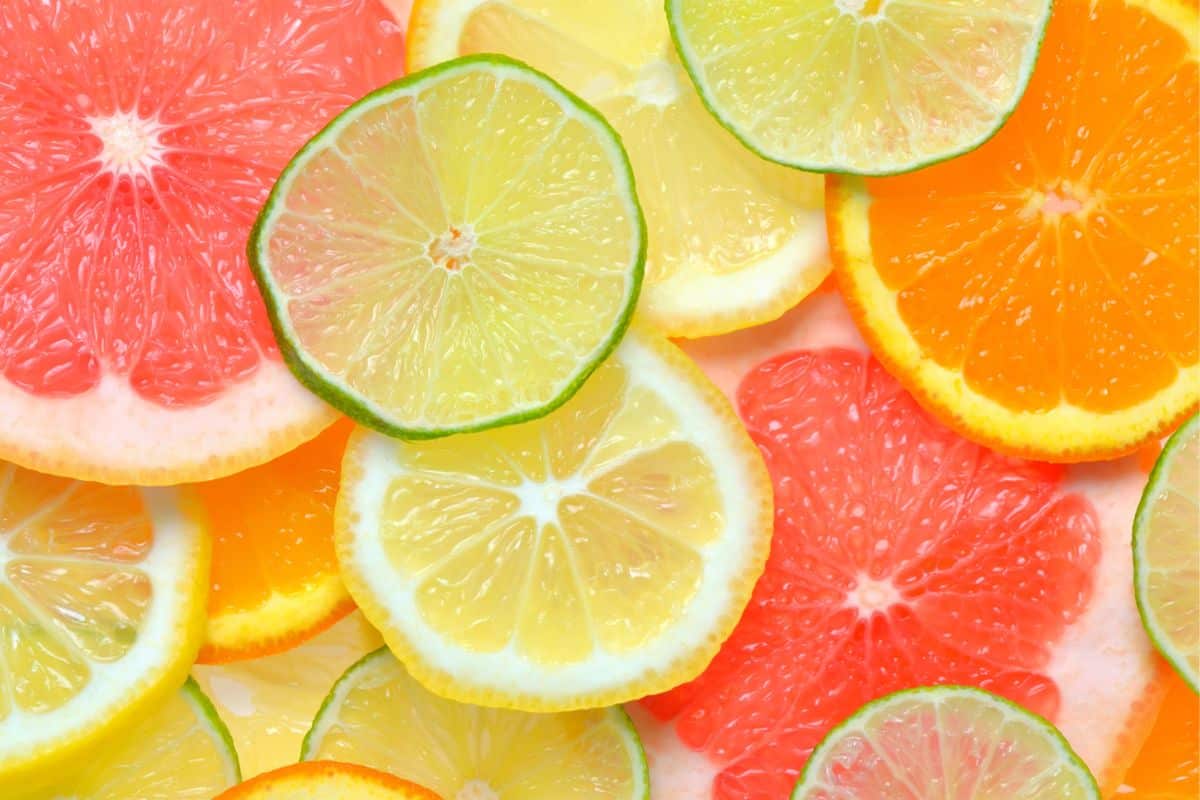
Most of your fruits can be safely processed with a water bath canner. Theoretically, you should be able to process tomatoes (a high-acid food) using the Boiling Water method, but I prefer using the Pressure Canner for peace of mind as their acidity is relatively low for a high-acid food. Additionally, your processing time for tomatoes is shorter in the Pressure Canner, so you maintain more of the nutritional benefits.
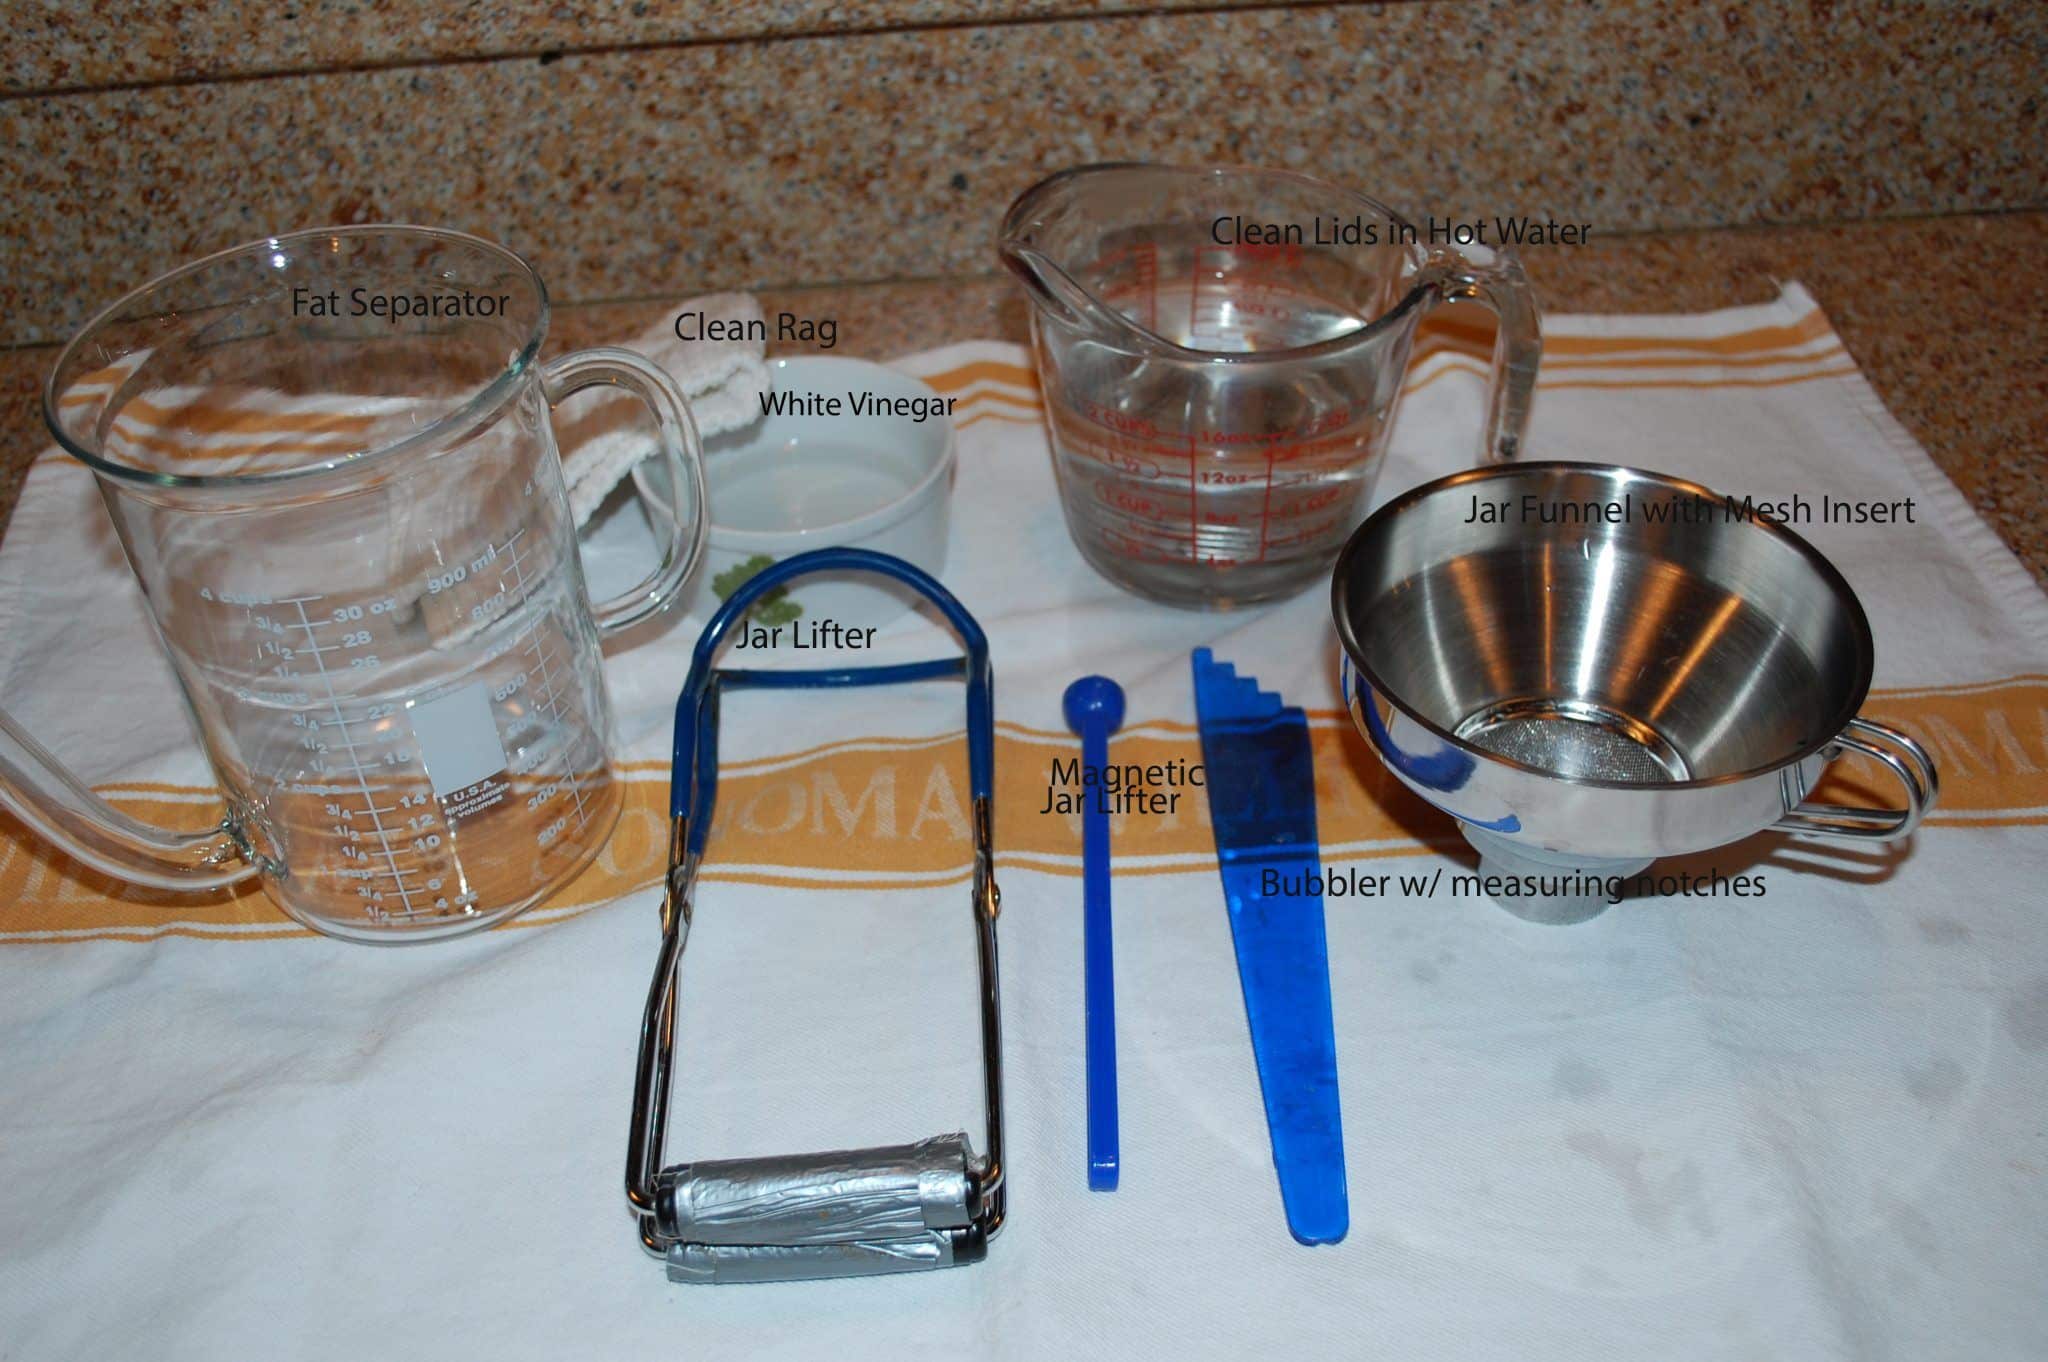
Here’s the list of the basic tools you’ll need to preserve food. The first 10 will allow you to preserve high-acid foods (fruits, jams, jellies). If you want to preserve low-acid foods, you’ll need to add the Pressure Canner.
- A large pot deep enough to completely immerse the jars you want to can. If you are only planning on canning pint and half-pint jars of jelly or fruit, you probably have a soup pot on hand that is deep enough. However, if you are planning on canning quart jars, you need a deep pot.
Ideally, your pot should be deep enough to cover your jars with 3 inches of water. Ball has a large pot that comes with all the basic tools.
2. I’ve never used one, but I can see the benefit of a handled rack that lets you put your cans in and take them out in one movement. This one has good reviews on Amazon. When I Water Bath Can, I use this trivet to keep the jars somewhat protected from the bottom of the pan and use my jar lifter to get them out. I like that the trivet has many uses instead of being single purpose.
4. Bubble Remover & Head Space Tool You could use a spatula or any other tool to remove bubbles, but the Headspace tool is pretty darn handy. I wouldn’t can without it. You could use a ruler, but the little notches make it really very easy.
5. Cup of White Vinegar and a Clean Cloth
6. Funnel. I can’t tell you how much I really appreciate the removable mesh filter in my funnel. I had one without the filter before, so I would have to hold or position a fine mesh colander over my funnel to trap the bits that are invariably in your broth. I got this one for Christmas several years back and it is worth every cent.
7. Lid Lifter. It helps you get the lids out of the hot water to place them on your jars, without you having to touch them, thereby reducing opportunities for ‘germification.’
8. Glass Canning jars. It is very important that you buy authentic canning jars as they have a unique threaded neck which works with the lids and bands to allow for proper pressurization. I like the wide mouth, but that’s a personal preference. Do check your jars for cracks and chips prior to each use. The first time you buy them, they will come with lids and bands. After that, you can re-use the jars and bands but will need to buy new lids each time you can something. Once you notice the bands have been bent or misshapen in any way, toss them. You need them to easily screw onto your jars. They are relatively cheap, so don’t hold onto them if they aren’t in good shape.
9. Clean Towel to place all your tools on.
10. If you want to preserve low-acid foods, you will need a pressure canner. This is the one I currently have used for 5 years without any issue. I do oil the rubber gasket once a year or as needed and have taken the pressure gauge to my local extension service agent to have it checked for accuracy. The descriptions say it holds 7-quart jars, but I max out at 5. When I do replace it, I will get a larger one. When I can stock and soup I do large quantities and it would cut down on the time.
11. A Fat Separator is a handy kitchen tool in general. But I also use mine when canning stocks and broths to minimize the fat that is canned. I don’t mind a little bit, but sometimes it is more than I want.
Thanks again for spending a few minutes of your busy day with me today.
Please know that I welcome each and every comment that comes my way. If you want to make sure you don’t miss future content, pop your email in the beige box up on the right or click here. I usually send out 2-3 emails a week, so I won’t inundate your inbox…believe me, I’m sensitive to an overflowing email inbox!
By subscribing to Nourish and Nestle, we will only use your email address to send you emails (no more than 2-3 per week) that will keep you up to date with the latest news and content on the site. In addition, you will have access to my growing library of knit & crochet patterns, as well as other printables. This library will continue to grow, so check back often.
And please know that you can unsubscribe at any time by emailing me or clicking on the “unsubscribe” link at the bottom of all of our emails.
You can access many of the products I refer to in all of my posts on my Nourish and Nestle Amazon Page. You can access it here.
So, if you’d like to get in on the ‘subscriber benefit’ action, simply subscribe to Nourish and Nestle here or using the form on the right sidebar. It’s towards the top a bit. I have sent all my subscribers the link to the Subscriber Benefits Library. If you missed it or misplaced it, drop me a line.
Until next time…
Hugs,